PXE Server mit iVentoy
Erstellt am 17.05.2025 um 19:31:08 Uhr | muellda
Aktualisiert am 17.05.2025 um 19:31:08 Uhr | muellda
22. Juli 2023von mb-press

iVentoy ist ein neues geniales Projekt von dem Ventoy Entwickler. Ein einfacher (i)PXE Server ohne umständliche Konfiguration.
Installieren, ISO Dateien ablegen und den Client per PXE-Boot starten.
Installation
Aktuelle iVentoy Version herunterladen und nach /opt entpacken.
wget https://github.com/ventoy/PXE/releases/download/v1.0.21/iventoy-1.0.21-linux-free.tar.gz
tar xvfz iventoy-1.0.21-linux-free.tar.gz -C /opt
ln -s /opt/iventoy-1.0.21 /opt/iventoy
Ordnerstruktur:
/opt/iventoy/
data # license file, config files
doc # documents
iso # ISO files
lib # library files that needed by iVentoy, don’t put other files here
log # log files
user # user files, third-part software, auto install scritps, etc.
iVentoy starten
root@pxe:~# cd /opt/iventoy
root@pxe:/opt/iventoy# ./iventoy.sh start
iventoy start SUCCESS PID=325
Please open your browser and visit http://127.0.0.1:26000 or http://x.x.x.x:26000 (x.x.x.x is any valid IP address)
# iVentoy Status
root@pxe:/opt/iventoy# ./iventoy.sh status
iventoy is running, PID=325
# iVentoy Webserver Port
root@pxe:/opt/iventoy# lsof -i :26000
COMMAND PID USER FD TYPE DEVICE SIZE/OFF NODE NAME
iventoy 325 root 16u IPv4 164942036 0t0 TCP *:26000 (LISTEN)
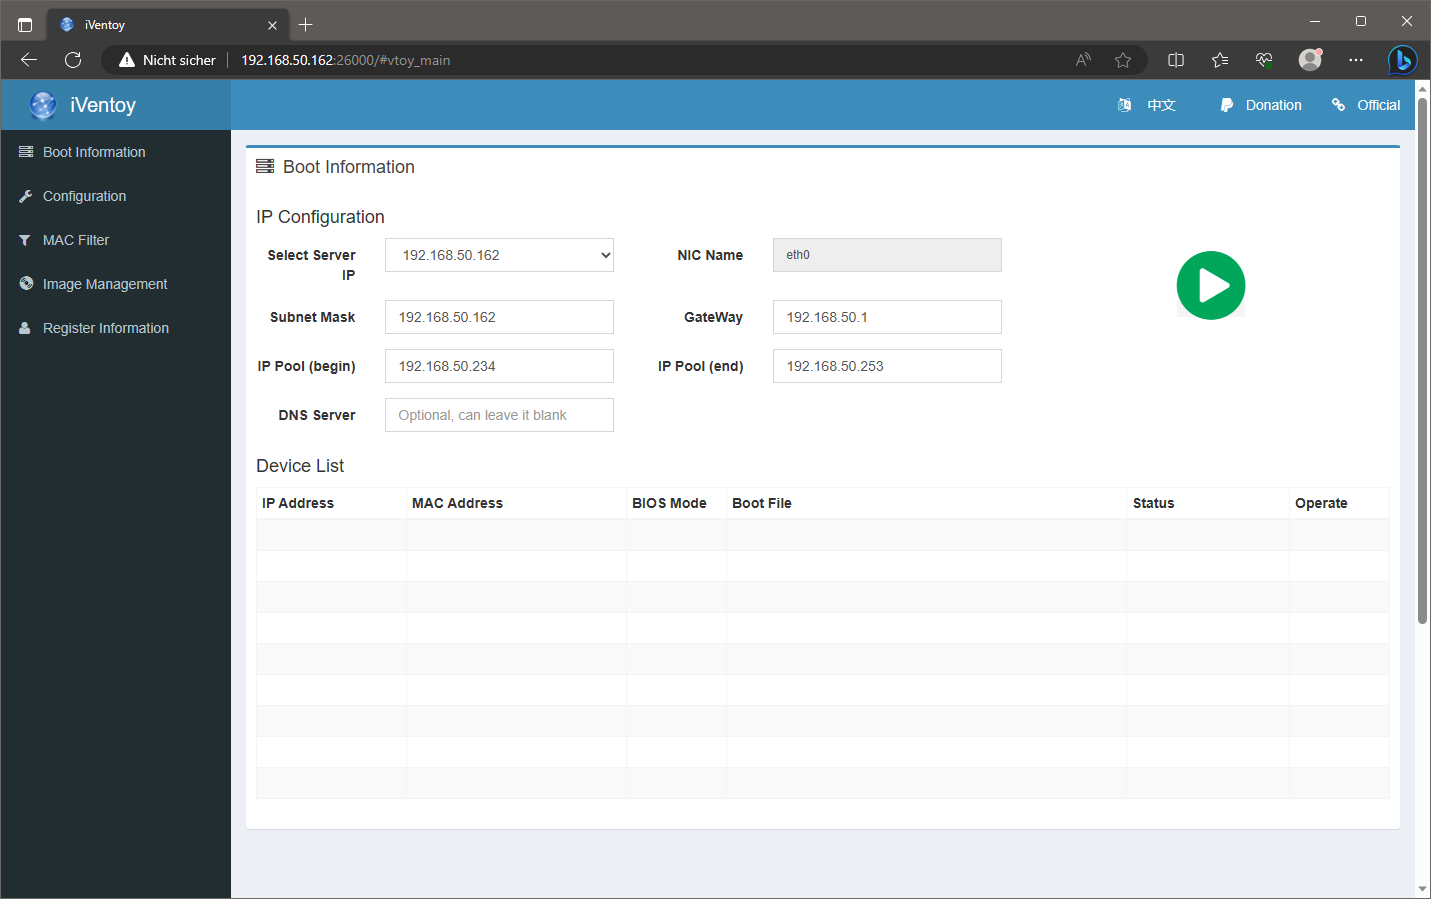
Im Browser http://iventoy-server-ip:26000 aufrufen und den PXE Service starten.
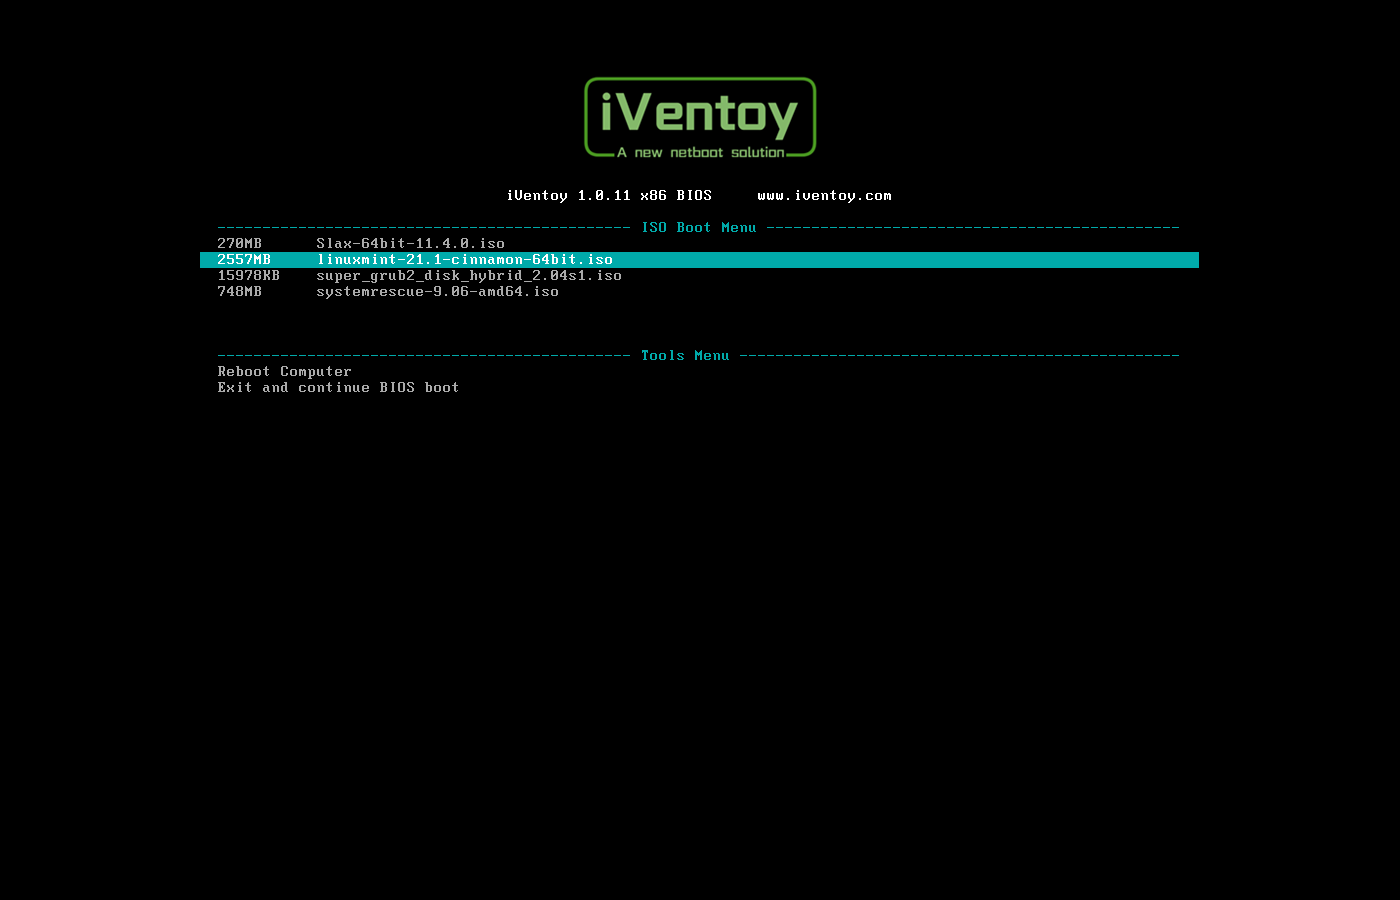
PXE Client
Client per PXE booten.
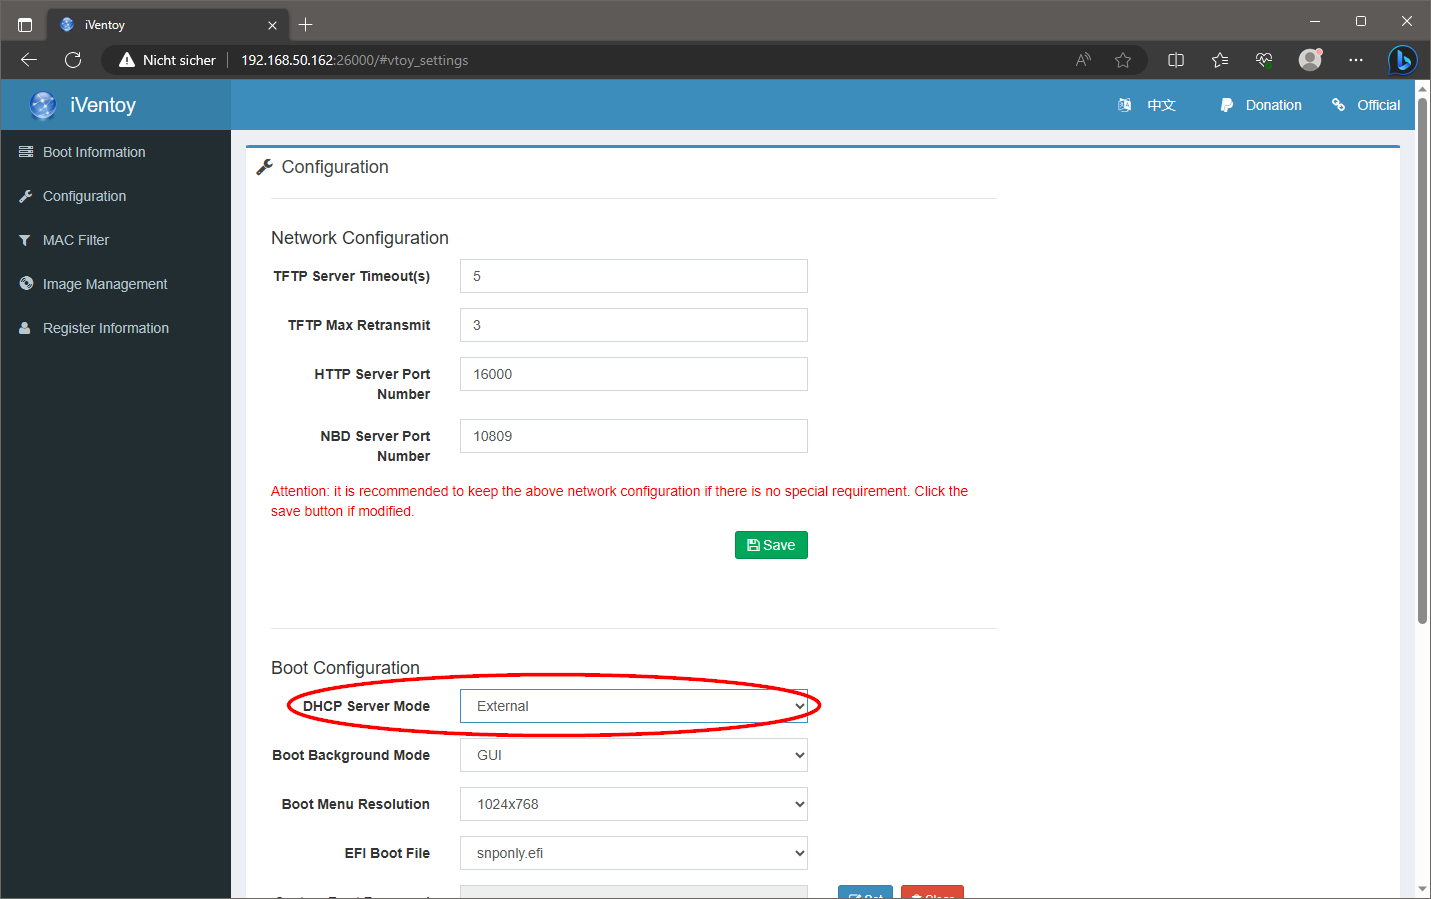
iVentoy mit externem DHCP Server
Nutzt man einen externen DHCP Server im LAN, DHCP Server Mode auf external stellen. (third-part dhcp server)
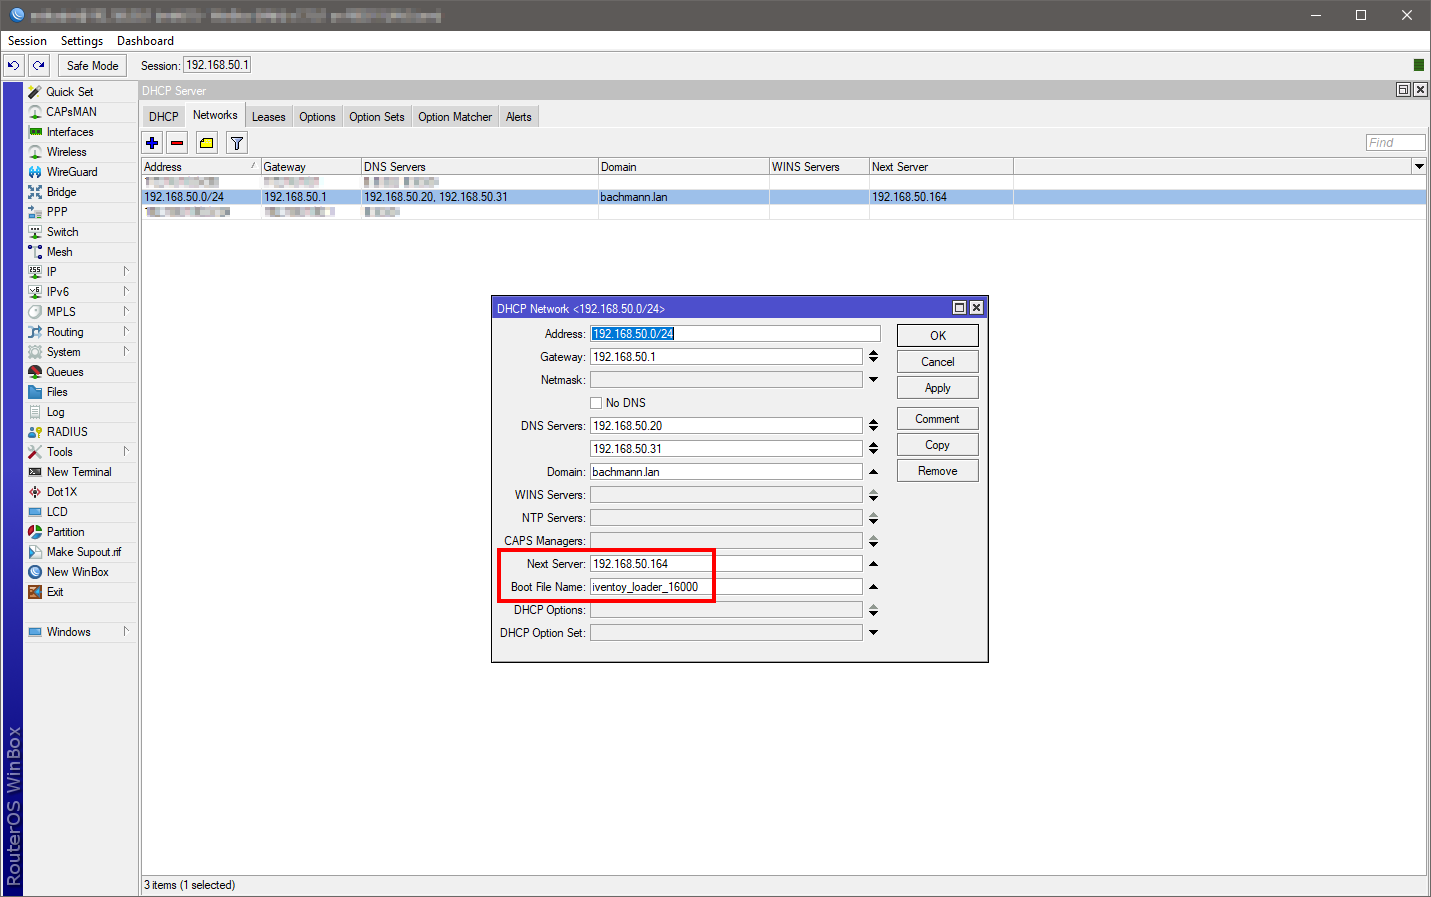
Am externen DHCP Server die Optionen next server und bootfile setzen. (next server = iVentoy ipadresse, bootfile = iventoy_loader_16000)
iVentoy update
Nicht einfach über die alte Version entpacken! (siehe Version update)
# iVentoy stoppen
cd /opt/iventoy
./iventoy.sh stop
# neue Version herunterladen und entpacken
wget https://github.com/ventoy/PXE/releases/download/v1.0.17/iventoy-1.0.17-linux-free.tar.gz
tar xvfz iventoy-1.0.17-linux-free.tar.gz -C /opt/
# config kopieren und ISOs verschieben
cp -v /opt/iventoy/data/config.dat /opt/iventoy-1.0.17/data/
mv -v /opt/iventoy/iso/* /opt/iventoy-1.0.17/iso/
# iVentoy symlink anpassen
rm /opt/iventoy
ln -s /opt/iventoy-1.0.17 /opt/iventoy
# iVentoy starten
cd /opt/iventoy
./iventoy.sh -R start
iVentoy autostart
Nach einem reboot soll der iVentoy Webserver und PXE Service automatisch gestartet werden. Das wird mit dem Paramenter -R erreicht.
iVentoy starten, über das WebUI konfigurieren und mit dem grünen Button den PXE Service starten. Die Konfiguration wird jetzt automatisch gespeichert.
Mit der -R Option startet iVentoy automatisch den PXE Service mit der zuletzt gespeicherten Konfiguration.
Die Datei /etc/systemd/system/iventoy.service mit folgendem Inhalt erstellen.
[Unit]
Description=iVentoy – a new netboot solution
After=network.target
[Service]
Type=simple
Restart=always
WorkingDirectory=/opt/iventoy
ExecStart=/usr/bin/bash /opt/iventoy/iventoy.sh -R start
ExecStop=/usr/bin/bash /opt/iventoy/iventoy.sh stop
RemainAfterExit=yes
[Install]
WantedBy=multi-user.target
Service neu laden, aktivieren und starten.
systemctl daemon-reload
systemctl enable iventoy.service
systemctl start iventoy.service
Service Status.
systemctl status iventoy.service
● iventoy.service – iVentoy – a new netboot solution
Loaded: loaded (/etc/systemd/system/iventoy.service; enabled; preset: enabled)
Active: active (exited) since Wed 2023-07-19 12:52:26 CEST; 2s ago
Process: 737 ExecStart=/usr/bin/bash /opt/iventoy/iventoy.sh -R start (code=exited, status=0/SUCCESS)
Main PID: 737 (code=exited, status=0/SUCCESS)
Tasks: 13 (limit: 2307)
Memory: 27.7M
CPU: 611ms
CGroup: /system.slice/iventoy.service
└─750 /opt/iventoy/lib/iventoy
Jul 19 12:52:26 deb12 systemd[1]: Started iventoy.service – iVentoy – a new netboot solution.
Jul 19 12:52:26 deb12 bash[737]: iventoy start SUCCESS PID=750
Jul 19 12:52:26 deb12 bash[737]: Please open your browser and visit http://127.0.0.1:26000 or http://x.x.x.x:26000 (x.x.x.x is any valid IP address)
# iVentoy Webserver Port
lsof -i :26000
COMMAND PID USER FD TYPE DEVICE SIZE/OFF NODE NAME
iventoy 179 root 33u IPv4 6254229 0t0 TCP *:26000 (LISTEN)
# iVentoy PXE Service Port
lsof -i :69
COMMAND PID USER FD TYPE DEVICE SIZE/OFF NODE NAME
iventoy 179 root 47u IPv4 6254274 0t0 UDP 192.168.50.162:tftp
iVentoy API
Über API Requests können Werte abgefragt und Befehle ausgeführt werden. (siehe Forum)
sysinfo, get_config_all, get_img_tree, get_dhcp_mode, get_mac_filter, get_mac_deny_list, sys_ip_list, start_server, stop_server
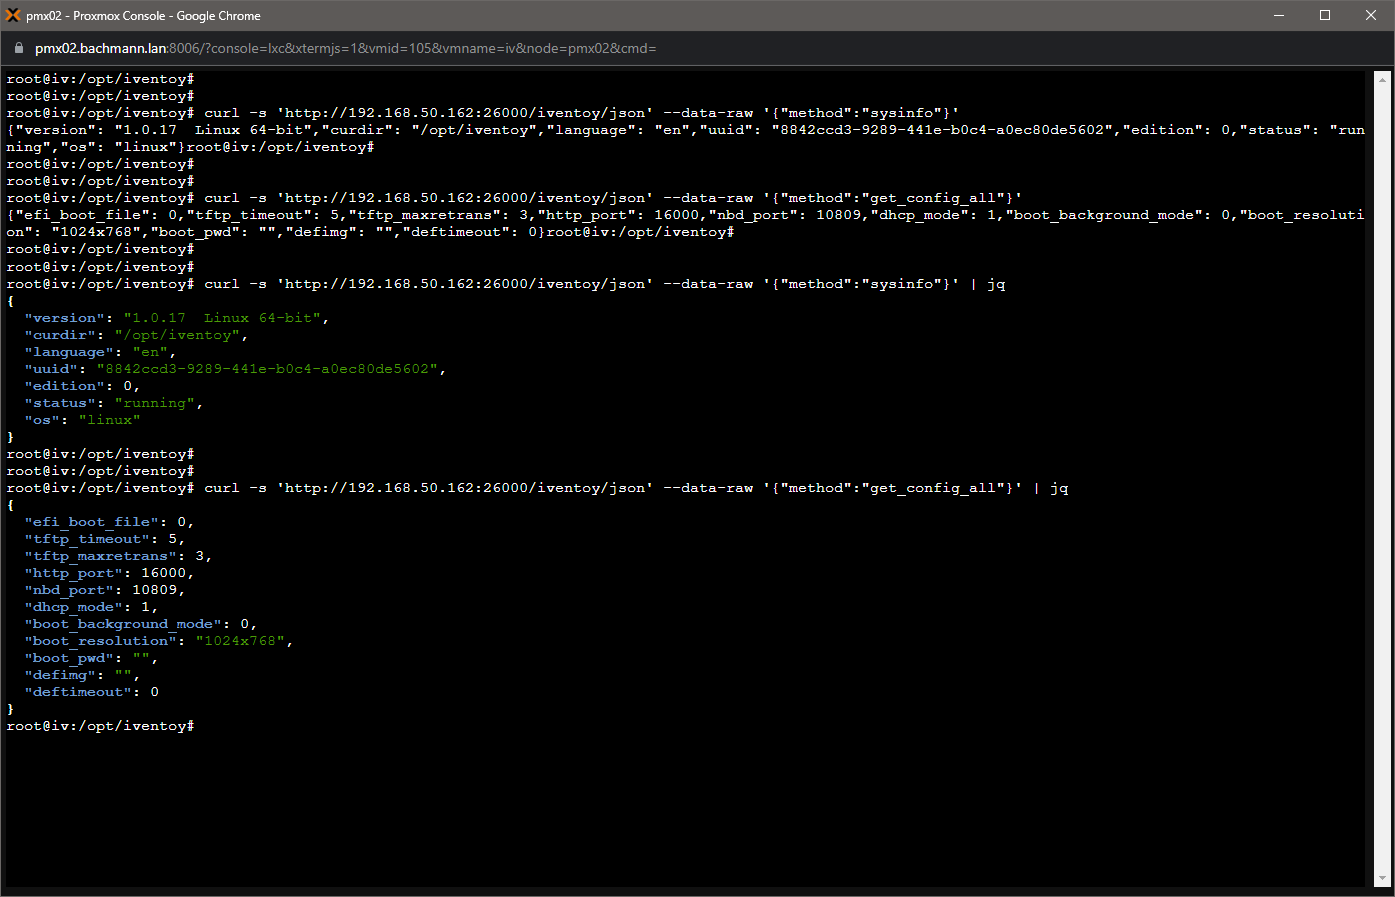
API Request sysinfo
curl -s ‚http://192.168.50.162:26000/iventoy/json‘ –data-raw ‚{„method“:“sysinfo“}‘
{„version“: „1.0.17 Linux 64-bit“,“curdir“: „/opt/iventoy“,“language“: „en“,“uuid“: „8842ccd3-9289-441e-b0c4-a0ec80de5602″,“edition“: 0,“status“: „running“,“os“: „linux“}
# jq installieren
apt install -y jq
curl -s ‚http://192.168.50.162:26000/iventoy/json‘ –data-raw ‚{„method“:“sysinfo“}‘ | jq
{
„version“: „1.0.17 Linux 64-bit“,
„curdir“: „/opt/iventoy“,
„language“: „en“,
„uuid“: „8842ccd3-9289-441e-b0c4-a0ec80de5602“,
„edition“: 0,
„status“: „running“,
„os“: „linux“
}
Ohne und mit jq.
iVentoy im LXC Container unter Proxmox
Läuft, wenn der Container mit diesen Optionen erstellt/konfiguriert wurde.
- unprivileged container no
- nesting 1
- cores 2
iVentoy sonstiges
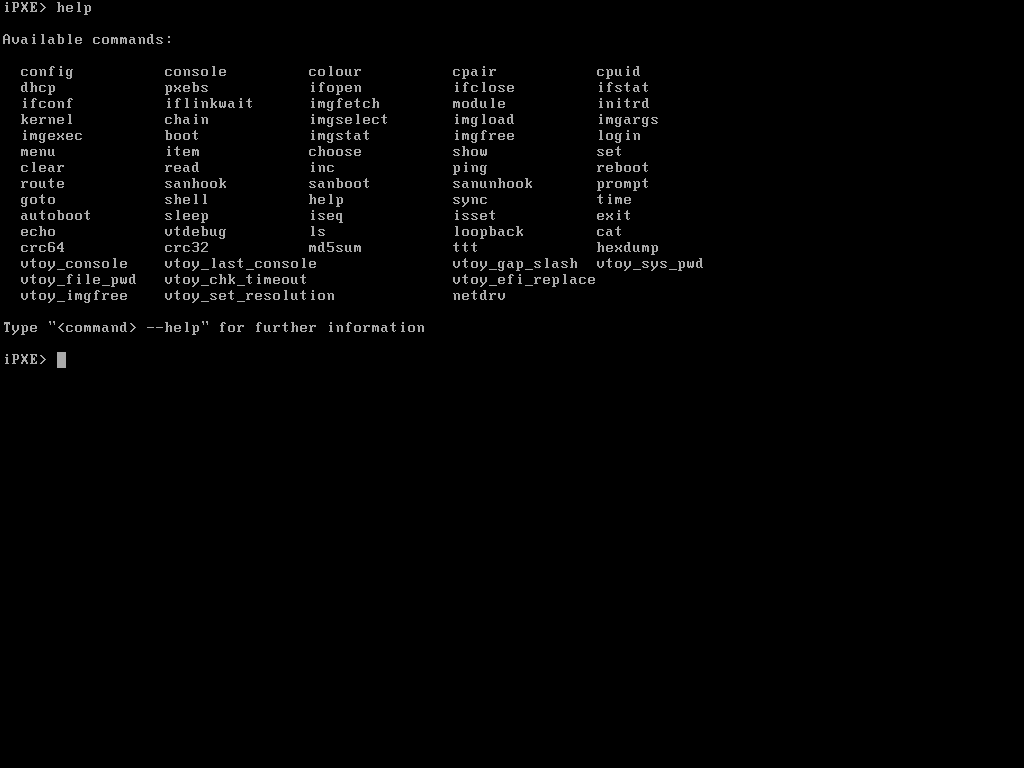
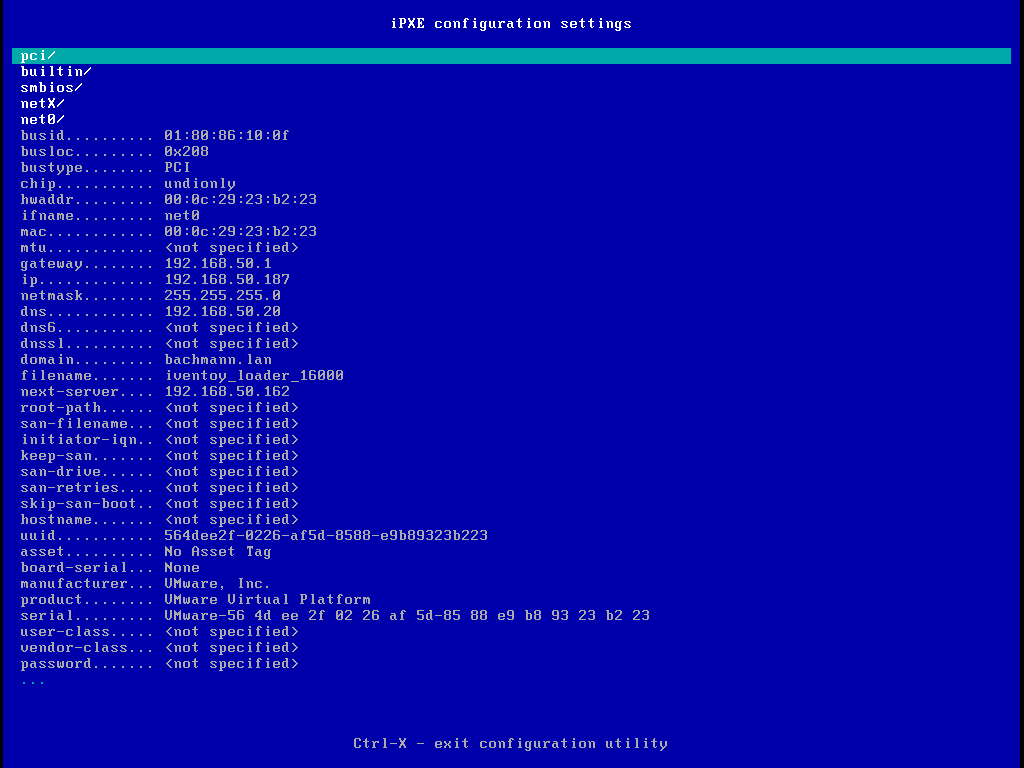
Drückt man im Bootmenü die F5 Taste, kommt man auf die iPXE Konsole.